
FILES TO FINISHED PROJECT / MAKER GUIDE
How to laser cut a layered street map
A laser-cut street map starts with a place and a plan for the material. This guide takes you from separate SVG features to a checked LightBurn project, with a free file sample to inspect first.
These are file-preparation and assembly planning instructions. The examples are generated artwork, not photographs of a completed physical test. Machine settings and material suitability need testing on your own equipment.
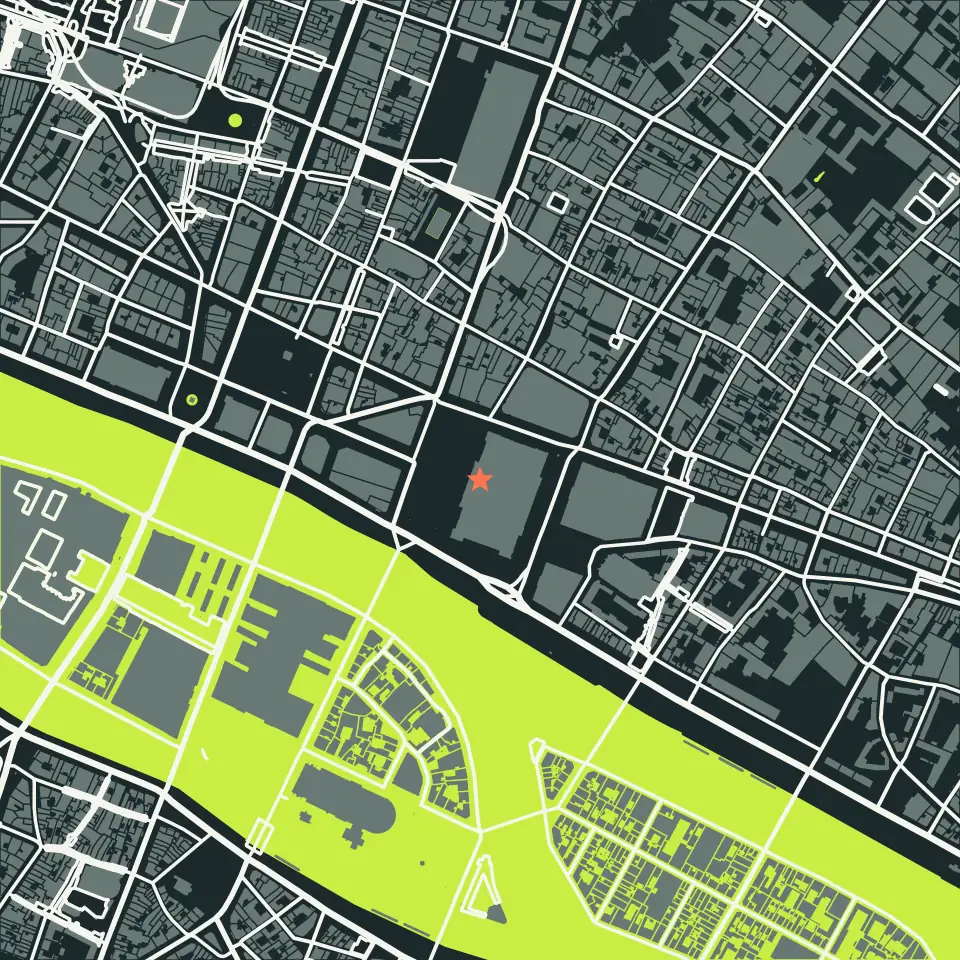
1. Choose a place that reads well at your finished size
Open the free street map studio and find a city, neighborhood or exact coordinates. Begin with a compact area containing a recognizable street pattern. A whole city squeezed into a small frame can leave roads and building details too thin to cut.
Set the finished width and square or round boundary, then generate a preview. Check bridges, water edges and isolated buildings. The preview helps judge composition; it does not certify that every piece will remain connected after cutting.
2. Decide what each street map SVG layer will do
The street map download separates available roads, buildings, water, parks and finishing details. A feature layer is not automatically a separate sheet of wood. You might engrave buildings into a backing sheet, cut street shapes from another sheet, and use a contrasting backing colour for water.
Choose solid map shapes for filled feature geometry or center lines for a line-based workflow, as appropriate to your design. Inspect tiny islands and decide whether to retain them, attach them to a backing, simplify them or leave them out.
3. Import the SVG and check scale in LightBurn
Extract the downloaded ZIP first. Keep START-HERE, your design settings and source attribution alongside the artwork. Use LightBurn's Import command to open the required SVG files. Check the width and height in millimeters against the finished dimensions you selected.
Keep every feature layer at the same scale and relative position. When importing separate files, check common bounds and shared landmarks before alignment; do not independently fit each layer to the page. The combined SVG can help you compare the arrangement.
4. Assign cutting and engraving operations
LightBurn uses colour layers to organize operations. Imported display colours are not machine instructions. Select the geometry for each operation, assign it to the intended layer, and choose Line for a line operation or Fill for an area engraving as your project requires.
Open Preview and examine the complete job: unexpected duplicate paths, filled areas, loose pieces and the order of operations. Make sure lettering is readable and your machine's usable area accommodates the design. Save your checked work as a LightBurn project; the download itself is SVG, not an LBRN2 file.
5. Test the material before making the whole map
There is no single speed and power setting for every laser, material and thickness. Use the material supplier's suitability information and your machine's guidance, then run a small test on the same stock. Include a narrow street, a small building and a corner in the test.
Measure the actual sheet thickness and assess kerf, edge strength and engraving contrast. Adjust geometry or settings where needed. A successful straight cut alone does not prove that delicate map details will survive handling.
6. Dry-fit, finish and assemble
Keep pieces labelled by their map feature and position. Dry-fit the stack on a flat backing before applying adhesive, checking river edges and major road junctions as references. Plan access for sanding or painting before permanently joining layers.
Use a finish and adhesive suitable for your chosen materials. Apply only enough adhesive to avoid squeeze-out into fine streets, and follow its curing instructions. Keep the source notes with the project and review the commercial-use conditions if you intend to sell the finished piece.
Check these before committing to a full project
- All imported files share the intended dimensions and alignment.
- Small pieces have adequate support and a clear assembly plan.
- Cut and engraving operations have been previewed in your machine software.
- A representative test works in your actual material.
- Attribution and design notes are kept with your project.
Continue with the layered topographic map guide to compare the other SVG workflow. Check credits and generation costs before creating finished files.
LightBurn reference
For software-specific controls, see the official artwork import guide, Line mode and Fill mode documentation. Review current instructions for your version and machine.